Is your blog plagued by spam, spammers and spambots? Do they annoy you? Do you know they’re even there and the damage they could be doing?
Allowing spammers and spambots to follow your blog makes it easier for them to attempt to flood your blog with spam comments. In turn, this opens the floodgates to your readers becoming the victims of scams or having their computer, tablet or phone infected with malware.

There are many different types of spammers in the blog world. From those who leave uninvited links, those who flood your posts with pleas to check out their blog and follow them, and comments from spambots; they can all be a nuisance.
Some spammers are easy to spot. The clues are in their name.

Some spammers try a little harder to trick you.

The above comment may sound genuine, but just look at the web address where it’s come from.
Recently, many blogs on WordPress have been flooded with spam comments from dog breeders. My blogging friend Renard at Renard’s World wrote about them.
I’ve witnessed some bloggers approve and respond to the comments from these spambots. The comments look genuine, but they’re not. Here’s an example of a spam comment from one of the dog breeders.

Approving and allowing comments from spammers and spambots onto your blog posts will damage the ranking of your blog. It may also end up resulting in genuine readers clicking on links in comments or visiting the sites of these scammers resulting in them becoming victims of scams or having their computer infected with malware.
These spammers often leave messages on posts that look authentic and nice, but they never mention anything about the contents of the posts (other than saying they like them) and often trick bloggers into believing they are genuine.
Spammers who follow your blog will also click the ‘like’ button on all your posts in the hope that other readers will see their gravatar icon, and visit their site. Once there, the reader puts themselves in danger of being scammed or having their device infected.
How Do You Spot Comments From Scammers and Spambot?
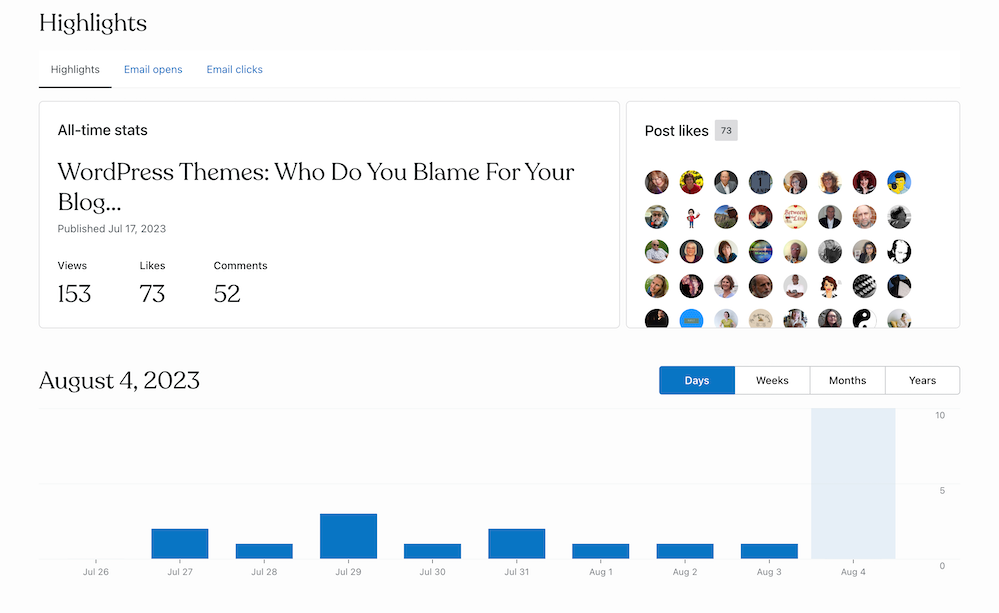
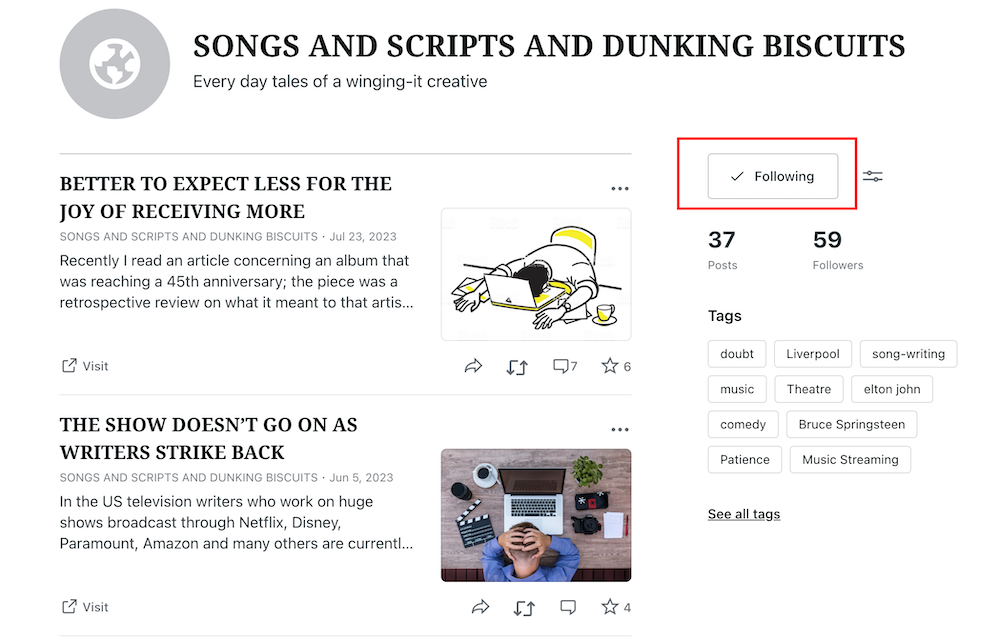
WordPress has recently improved the subscribers’ page of a blog. Not only has this helped spotting spammers and spambots, but it’s easy to remove them as subscribers to your blog.
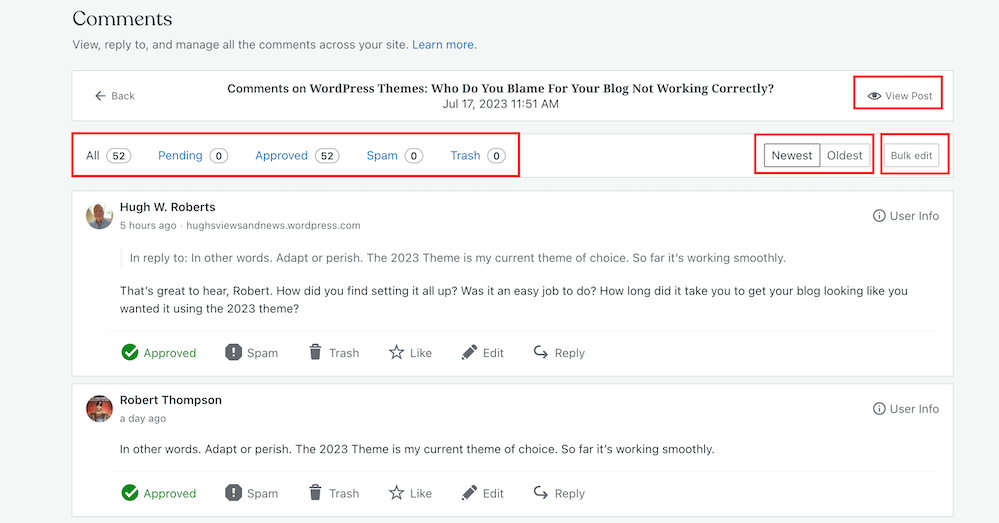
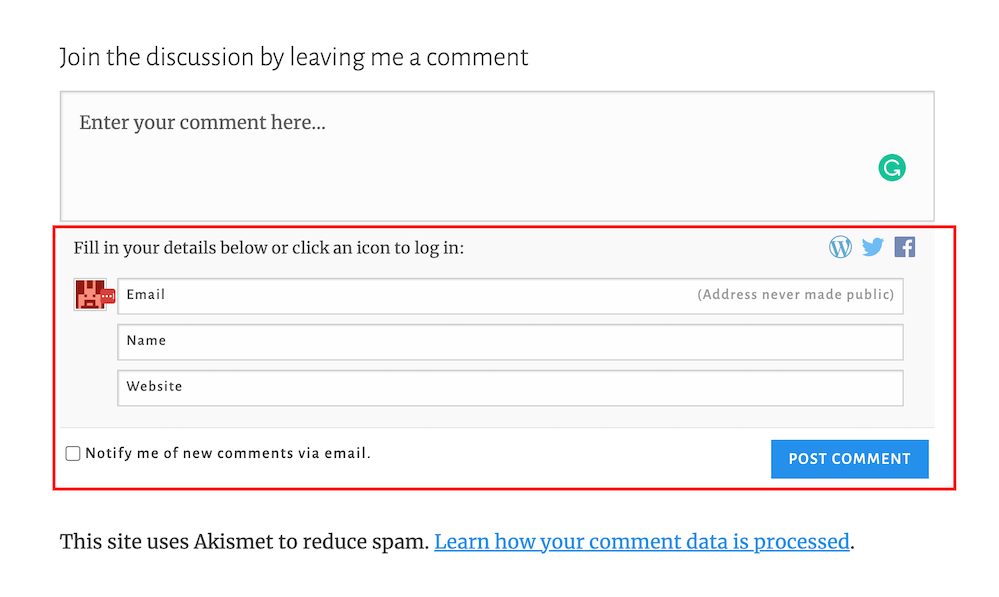
Here’s a screenshot of a comment from a spambot. I’ve highlighted the spammers name for instructions on how to unsubscribe them from following your blog further down in this post.

The Akismet Anti-Spam software that WordPress provides is excellent at dealing with spam, but it doesn’t catch it all.
Comments from spammers rarely have an image in their Gravatar, but spammers are now getting clever and inserting an image in their profile (like the one in the previous image).
Here’s how to spot, check and remove spammers and spambots as subscribers to your blog.
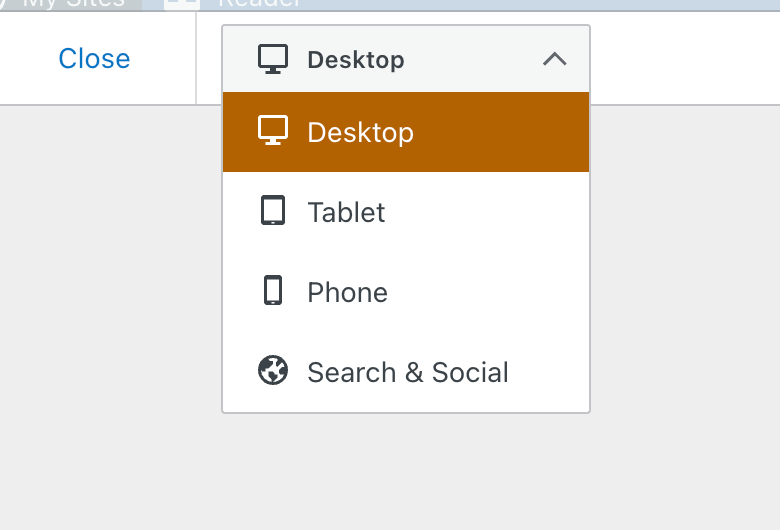
- Make sure you are viewing your blog’s dashboard in ‘Default‘ view.
- Copy the name of the spammers blog.
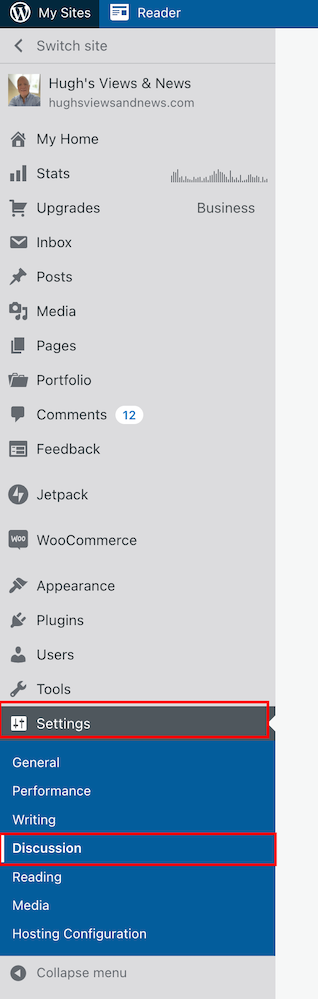
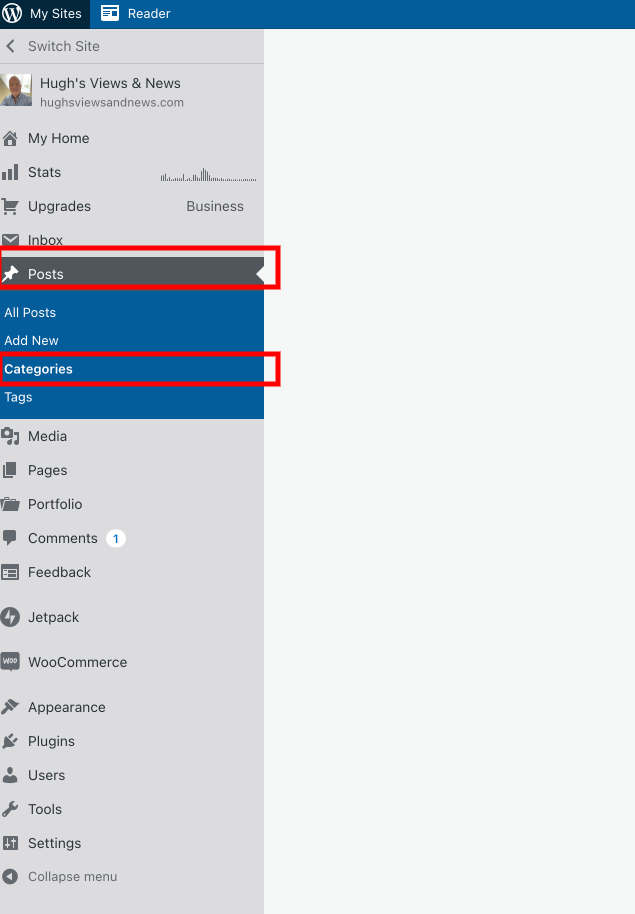
- On your blog’s dashboard, go to ‘Users‘ – ‘Subscribers.’

- On the ‘Subscribers‘ page you’re taken to, paste the spammers blog’s name in the ‘search box.’
- If the spammer is following your blog, their name will show in the results.
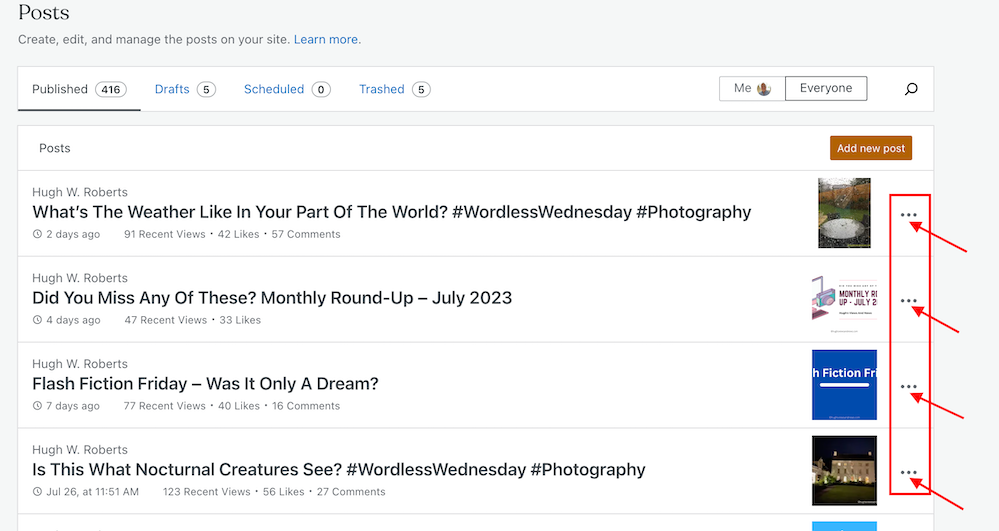
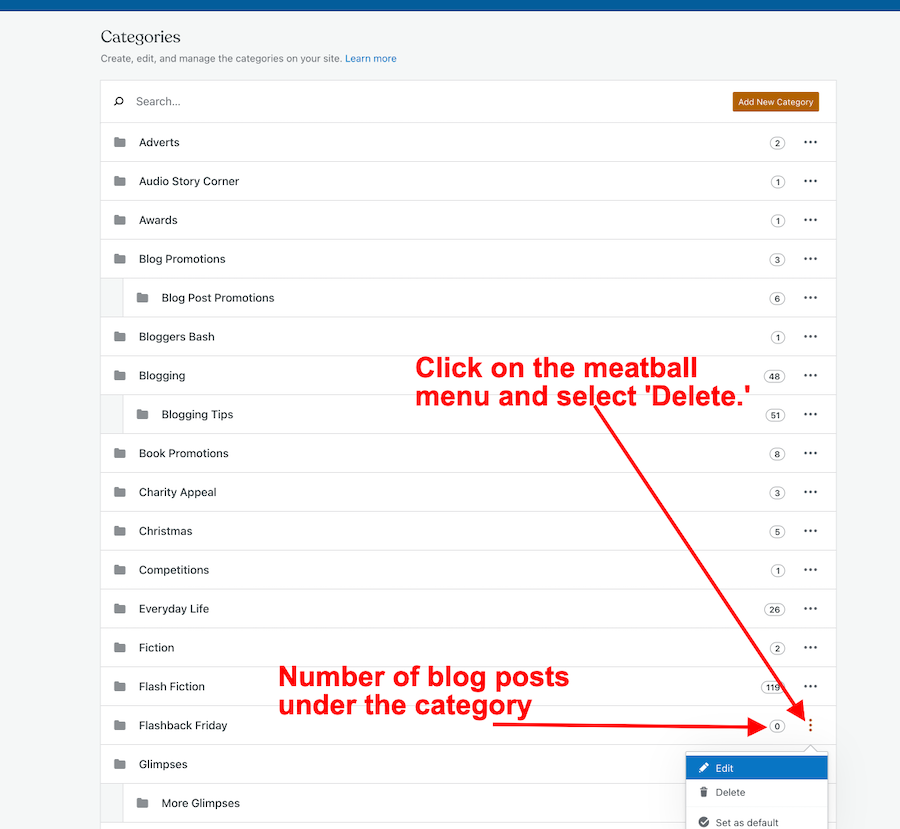
- Click the three dots next to the blog you want to remove.
- Click the ‘Remove‘ button to unsubscribe the blog from following you.

- The spammer has now been unsubscribed from following your blog.
Spammers who follow your blog are more likely to try and flood your blog posts with spam comments because they get notifications when you publish new posts. You can mark any such comments as spam, but I’d recommend you unsubscribe them from following your blog.
Of course, there is nothing stopping spammers from subscribing to your blog again, but every time they follow, unsubscribe them. As I have found out with those dog breeder spammers, they soon get fed up of having to keep subscribing to your blog.
Let’s Wrap It Up
- Don’t allow spammers, scammers or spambots invade your blog or stress you out.
- Spotting spammers, scammers and spambots is easy to do. Follow the guide in this post.
- Never approve or respond to spam comments.
- If you’re unsure a comment is from a spammer, check out their website address first.
- Always unsubscribe spammers, scammers and spambots from your blog. Follow the guide in this post.
- Although the Akismet Anti-Spam software that WordPress provides catches the majority of spam, it won’t catch all of it.
- Approving and allowing comments from spammers and spambots onto your blog posts will damage the ranking of your blog. It may also end up resulting in genuine readers clicking on the links in their comments or visiting their website and becoming a victim of scams or having their computer infected with malware.
- Look after your readers, not the spammers, scammers or spambots.
How do you deal with spam, spammers and spambots on your blog? Share details in the comments section.
Layout, content, settings, and format might differ on self-hosted blogs.
Follow Hugh on social media. Click the buttons below.
If you enjoyed this post and want more like it, enter your email address and click ‘Subscribe’ to stay up-to-date with my latest content.
Copyright @ 2024 hughsviewsandnews.com – All rights reserved.