
How do you stop showing up as ‘Anonymous’ when leaving comments on WordPress?
It can be frustrating not only for those leaving comments on blogs when they appear as ‘Anonymous’, but also for the blog host, who won’t know who left the comment unless there are clues to the person’s identity.

I see many comments from ‘Anonymous’ on other blogs saying they don’t know why they are showing up as ‘Anonymous.’ Many go on to blame WordPress for it.
However, it’s not always WordPress’s fault!
What are the reasons for your comments showing as ‘Anonymous’
The most likely reason is that you are not logged into a WordPress.com account. But there are other reasons.
Here are the main reasons and fixes for appearing as ‘Anonymous’
Missing Gravatar: WordPress uses a service called Gravatar (Globally Recognised Avatar) to display your profile picture and name. If you haven’t set up a Gravatar with your email address, WordPress defaults to ‘Anonymous.’
How to fix it: – Set up a Gravatar account. You can create a free account at gravatar.com and associate your email and name with a profile picture. You must use the same email address for your Gravatar account as you use for your WordPress blog, so it connects to your blog.
Not Logged In: If you are not logged into your WordPress.com or WordPress-connected account, the site treats you as a guest, often defaulting to ‘Anonymous.’
How to fix it: Ensure you are logged into your WordPress account before commenting.
Site Configuration: The blog owner may have set up their site to permit comments without requiring a name or email address. This is because not everyone wishes to disclose their name or identity. I respect my readers’ privacy, so I have configured my blog to allow comments without revealing commenters’ identities.
How to fix it: Ensure you are logged into your WordPress account before commenting.
Browser Issues: Cache/Cookies: Old cache or cookies can prevent your credentials from being recognised.
How to fix it: Clearing your browser’s cache and cookies often solves this problem. I’ve noticed this method works whenever I encounter issues with any website, not just WordPress. I clear the cache and cookies on my desktop computer at least once every few months, but the frequency depends on how often you use a device. If the problem persists, try a different browser or open a new window in your current browser in ‘incognito‘ mode to see if that resolves it.
App Glitches: Like everything else, the WordPress Jetpack app will cause problems if you don’t update it.
How to fix it: Try updating it, logging out and back in, or reinstalling the app. If your device is not set to automatically update apps, consider changing the settings so you don’t have to remember to update them. If you don’t have the latest updates, you’re likely to encounter problems.
Outdated themes: When WordPress retires a theme, it ceases support for it. This means that any bugs, including those affecting how your comments appear, will not be fixed.
How to fix it: Switch to a current WordPress-supported theme.
Privacy Settings: If your browser is blocking third-party cookies, it may prevent your profile from appearing correctly on other people’s blogs.
How to fix it: Change your browser’s settings to enable cookies.
Theme bugs: Some bugs may only affect certain WordPress themes. ‘Anonymous’ comments are one such bug.
How to fix it: If you have tried everything else and your comments are still showing as ‘Anonymous’, report the bug to WordPress, and ensure you inform them of the device you are using and the name of your blog’s theme.
Summary:
- Create a free Gravatar account at gravatar.com and associate your email and name with a profile picture. Ensure you use the same email address so that your Gravatar account connects to your blog.
- Always ensure you are logged into your WordPress account before leaving comments.
- Clear the cache and cookies in the browser on the device you use to browse the internet.
- Try using a different browser or leaving a comment while in ‘incognito’ mode.
- The blog’s host may have set it up to allow comments without requiring a name, email address, or WordPress login. Therefore, ensure you are logged into your WordPress account.
- Ensure the WordPress/Jetpack app is up to date by downloading its latest software.
- Change your blog’s theme if WordPress have retired it.
- Change your browser’s settings to allow third-party cookies.
- Tried everything in the above list, but still encountering the problem. Report the bug to WordPress.
Have you encountered issues with your comments appearing as ‘Anonymous’? What steps did you take to resolve your ‘Anonymous’ comment problems? Did any particular solution work best for you? Have you ever come across a blog that required you to log in to leave a comment? Did this affect your willingness to engage? Feel free to share your thoughts and experiences in the comments below!
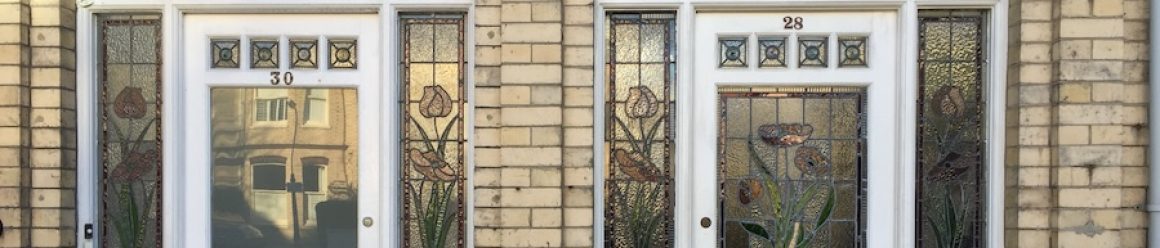
The featured image on this blog post is sourced from Pixabay. AI reviewed spelling and grammar errors.
The image in this post was created using the WordPress image generator.
You can follow me at the following sites.
Copyright @ 2026 hughsviewsandnews.com – All rights reserved.