If you happen to be reading this in January, then it’s officially ‘Happy New Year!’ If it’s any other month, well, ‘Happy New Year’ anyway—because let’s face it, every day is just a chance to start fresh, much like your New Year’s resolution to stop binge-watching shows… which you’ve probably already forgotten by now!
I’m diving headfirst into 2026 with a parade of my 12 most beloved posts from 2025, all crafted by yours truly. Maybe they slipped under your radar, or perhaps you’re just itching to relive them—feel free to leave a fresh comment, even if you’ve already showered them with praise before. Because, let’s be honest, who doesn’t love a little comment déjà vu?
Click the links to view the posts.
January
Navigating the Social Media Landscape: My Journey with Five Platforms
I kicked the year off talking ‘Social Media,’ a subject that became a hot topic during 2025, sometimes for the wrong reasons.
Not only can social media be a ravenous beast in eating up a lot of your time, but it’s also a fantastic way to promote your blog posts, the posts of other bloggers (a great way to support other bloggers), and, best of all, it’s free to use unless you decide to pay for a subscription.
I not only shouted out the three social media platforms I’m still romancing, but I also gave a little eulogy for the ones I’ve ghosted. After all, as someone hilariously pointed out, ‘spreading yourself too thinly on social media is like trying to butter a piece of toast with a frozen brick of butter—good luck with that!’
February
Why Every Blogger Needs an Engaging ‘About’ Page: Key Elements and Tips
Do you know who you are? I hope most of you chimed in with a confident ‘Yes!’ But how well do you know the owners of the blogs you follow? I mean, do you really know them, or are they just mysterious internet wizards pulling strings from their lairs?
I’m still somewhat bemused by the number of bloggers who have an ‘About’ page that says, ‘This is the template for telling your audience a little about yourself and what you blog about,’ – well, something along those lines.
It’s truly wonderful to share a bit about yourself on your blog! You don’t need to provide a lot of information—a first name and a little insight into your location can go a long way. Plus, letting visitors know what your blog is about will help create a friendly connection and encourage them to explore your unique perspective!
As you’ll see in the comments section of the post, many bloggers won’t engage, let alone follow a blog that has no information about its host(s).
March
The Ultimate Guide to Engaging on Bluesky: Tips, Features, and Strategies for Success
Although published 10 months ago, this post from March 2025 is still attracting attention, making it my top pick of the month! If you’re a BlueSky user, this post is an absolute gem, offering you the fantastic opportunity to not just get your blog posts read but also to inspire meaningful engagement from your readers.
Even if you don’t have a Bluesky account yet, it’s worth a read, as the information contained within the post can apply to other social media platforms.
April
Astonishing! Some Bloggers Kill Off Comments On Their Blogs. Why?
Talking of engagement, imagine my shock when, in April, there was a lot of talk amongst bloggers about killing off commenting on their blogs.
Most of the talk was on social media, but I also noticed that some bloggers had decided to disable commenting on their posts, citing the amount of time it took to respond.
But isn’t that what blogging is all about? Being able to engage, discuss and ask questions? Check the comments for the answers.
May
The Best Ultimate Guide To Why Alt-Text Is Important
It’s a sad fact that not everyone who visits your blog can see images or photos. Fortunately, WordPress allows users to add Alt-Text to all images in blog posts. This helps visitors who use screen readers and other software that describe images to know what’s in them. Sadly, many bloggers don’t help these visitors by not adding Alt-Text to their pictures.
Don’t know what Alt-Text is? Check out the post for details. And once you read it, make it a mission to welcome everyone to your blog.
June
This Is The One Thing You Can Do To Help Bloggers
What’s the one thing you could do to help other bloggers?
I’m sure there are many different answers to that question, but the answer I give in my post is one that I’m positive the majority of bloggers want! Yes, there will be exceptions, and I’m sure one or two will tell me, but if you’re somebody who gives excuse after excuse as to why you can’t do this, then you’ve allowed the problem to beat you.
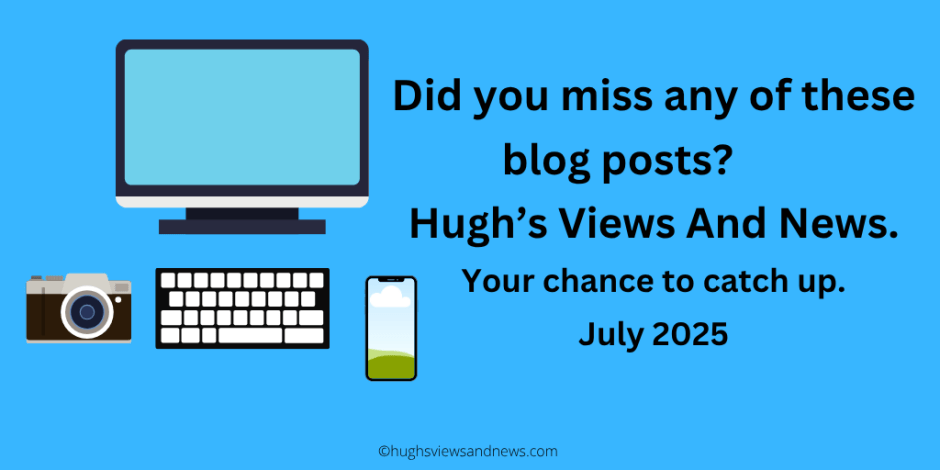
July
Flash Fiction – Crossroads Of Desire
I didn’t write as much flash fiction during 2025 as I had intended, but this piece of flash fiction was my favourite of the year. It involves two people you’d probably pass in the street most days. Meet Bill and his wife, both in the autumn years of their lives. Are they a normal couple you wouldn’t give a second look at, or are they two people who each come with a dark secret? Only you can decide, but only if you read the piece of flash fiction that gives you a glimpse into their lives.
This 4-minute read packs a punch.
I’ll be making amends and writing more flash fiction during 2026, so you better watch out!
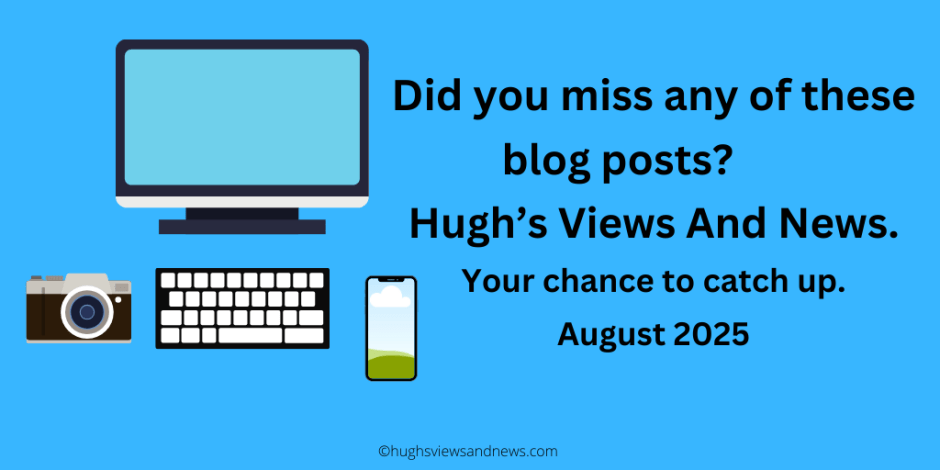
August
5 Reasons Why Every Blogger Should Have a Contact Page and How to Build One
August was the flattest month for me, blogging-wise, in 2025. It felt like I was on a plateau with no way up or down. There was little to choose from in terms of blog posts because I didn’t publish much, but thankfully, this post got a lot of engagement, proving it wasn’t as quiet out there as I thought.
Ask yourself these questions. Why would anybody want to contact you? But more importantly, how easy is it to contact you via your blog other than by leaving you a comment? Remember that leaving a comment isn’t always the right way to contact someone. After all, anyone visiting your blog can read comments. Are you missing out on any golden opportunities? Check the post for full details. You may be surprised.
September
This New WordPress Feature Helps Promote The Blogs You Love
I had to take an unexpected blogging break in September, but thankfully, this post had already been published before I departed. And I wasn’t disappointed with the reaction in the comments section to something the majority of WordPress users had no idea existed.
Short but sweet, this blog post from September 2025 packed as much of a punch as Bill and his wife did in July.
October
Where To Legally Source Amazing Images For Your Blog Posts
The latter quarter of 2025 saw me focusing very much on copyright issues, with many bloggers believing that their blogs are so small and private, nobody will care if they use images, photographs, or any material, including song lyrics, that are copyrighted. How wrong they are.
If you can not guarantee that the material or images you are using in your blog posts are free to use, then are you breaking the law? And, even worse, could you be fined?
November
The Latest Blogging and Publishing Scams You Need to Be Aware Of Now
How many of you believe that you’d never get scammed online?
With the advent of AI, the perpetration of scams has become significantly more sophisticated, leading to an alarming increase in the number of individuals who are susceptible to such deceit.
Different scams are emerging continuously, yet it appears increasingly challenging to identify them. Are you equipped to recognize a scam?
December
5 ‘Questionable’ Photos That Give You The Chance To Say Who You Are
In November, I shared my exciting decision to dive back into my passion for photography blogging, but this time with a fresh perspective. Although I had paused my photography posts in the past due to engagement challenges, I’m now thrilled to explore new ways to connect and inspire my audience.
This post not only showcased more of my own photography but also offered readers a wonderful opportunity to share a bit about themselves. Success! Engagement flourished, and I ended the year just as I hoped, fostering genuine connections rather than mere visits masked by guilt.
Finally, a glimpse into the inside of 2025 for my blog.

- 43 posts published
- 32,600 words written
- 2,700 clicked the ‘like’ button on my posts
- 2,100 comments left
A busy blogging year full of creativity and engagement.
What was your favourite blog post of 2025 on your blog? Why did it resonate with you? What’s the most significant lesson you learned about blogging and engaging with your audience in 2025?
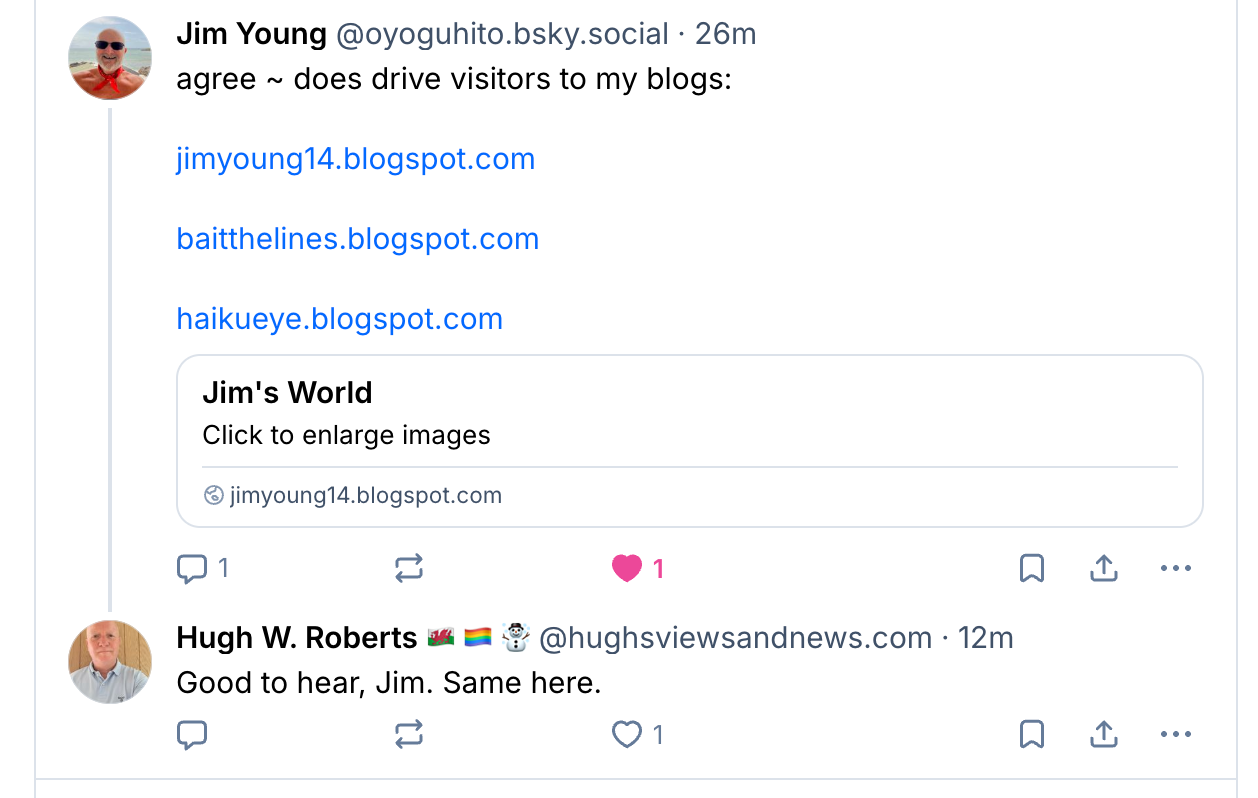
You can follow me at the following sites.
The featured image on this blog post is sourced from Pixabay. AI reviewed spelling and grammar errors.
Copyright @ 2026 hughsviewsandnews.com – All rights reserved.